Install your lawn
Don't sweat it. Here's how:
Prepare
![]()
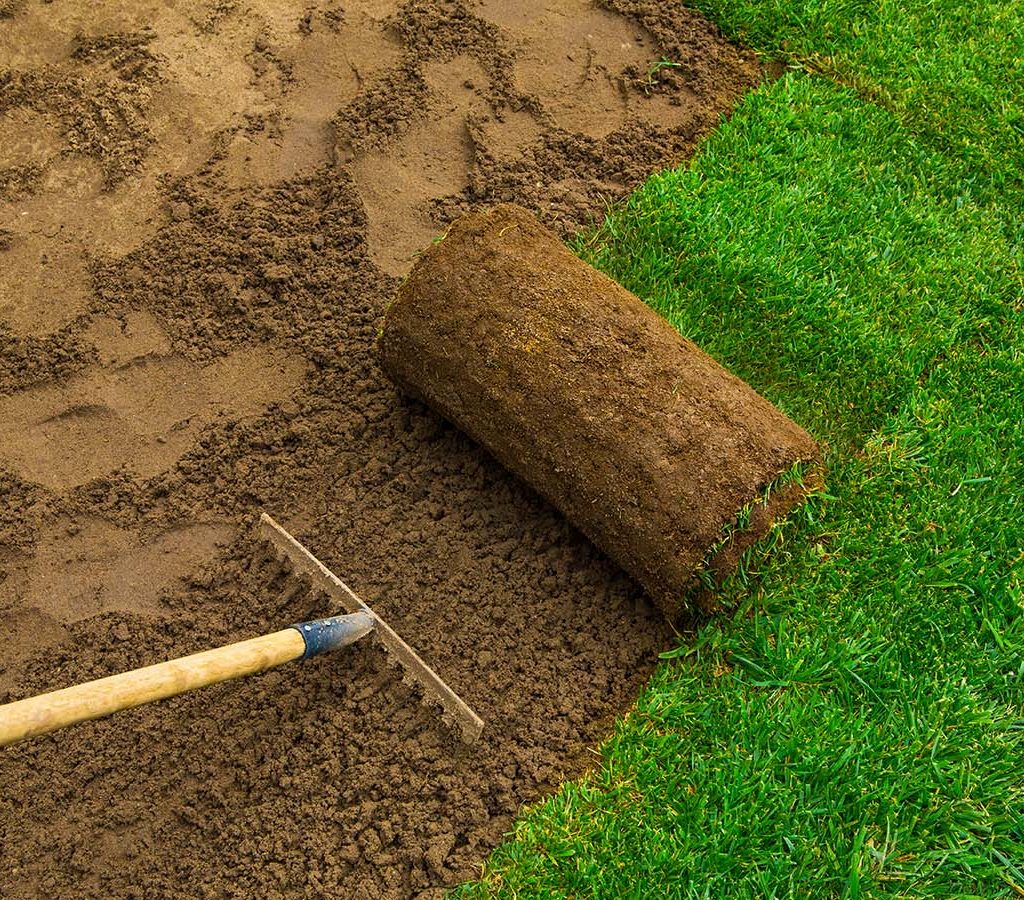
Prepare the area by clearing it of any existing weeds or grass.
• This will minimize problems in the future with weed control.
• The most common way to clear the area is by applying a broad-spectrum herbicide.
Remove sticks, stones, roots, debris, and large clods.
Locate and flag sprinkler heads.
This will minimize damage or delays when cutting out the sod.Work, level, and smooth the area with a rake
Make sure the grade is ½ inch below driveways, walkways, and borders; and 1 inch below sprinkler heads.Pre-irrigate the surface
Water the evening before installation. It is essential that sod is not installed on a dry surface.
Install
Install the sod immediately.
Remember SOD is a live plant and needs to get installed as soon as it arrives.Start laying the sod along a straight line.
• Along a patio, a fence, flower bed or driveway
• Butt edges together tightly, avoiding overlap or gaps.
Stagger the joints in each row in a brick-like fashion.
Use a sharp knife to trim corners.
• You’ll need a knife (carpet knives are perfect) to trim around trees, sprinklers, etc. • A lawn edger is a handy tool as well to do this.Never let newly installed sod dry out.
Water lightly as small areas are completed.
Maintain
Water, water, water
It is critical that you water your lawn every day the first week. NEVER let the roots dry out! HINT: Dry is bad, mud is bad. Moist is good Week Two: Reduce watering to every other day.Mow after 10-14 days.
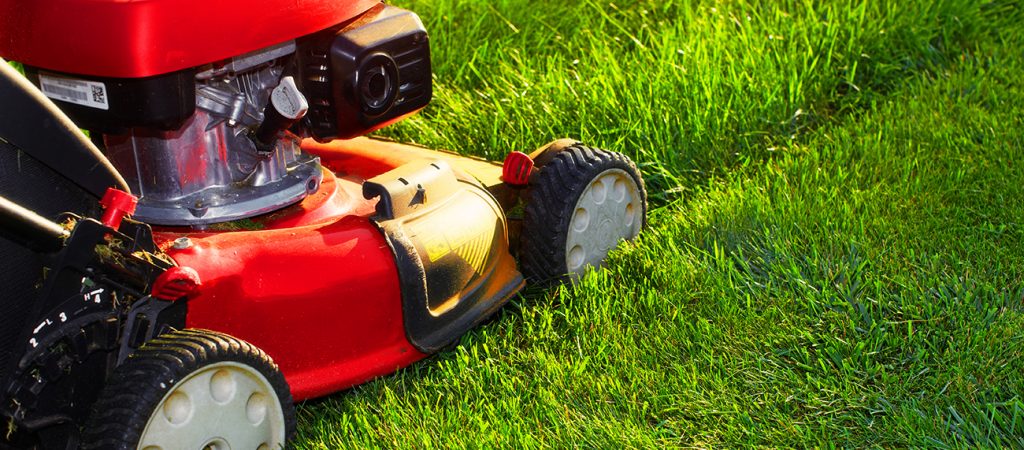
Never remove more than 1/3 of the grass in one mowing.
Start it out right
• After four weeks apply a starter fertilizer.• Keep it green and healthy by using a maintenance fertilizer something like a TurfBuilder, there are some organic options that are great as well.
Enjoy your new Harmony lawn!
Avoid heavy use of the sod until it has firmly rooted and has been mowed 2-3 times.
